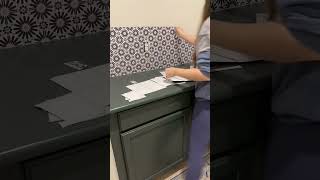
You can make your wallpaper look professionally installed without spending much if you focus on prep, alignment, and finishing.
Here’s a simple low cost method:
What You Need
Wallpaper glue/paste
Plastic smoother or old bank card
Measuring tape
Utility knife/razor blade
Clean cloth or sponge
Level or ruler
Small paint roller or brush
Step by Step
1. Prepare the Wall
Clean dust, oil, and old paint flakes.
Fill holes or cracks with filler.
Make sure the wall is dry and smooth.
A smooth wall is what makes wallpaper look expensive.
2. Mark a Straight Starting Line
Use a level or ruler to draw a vertical line.
Don’t trust corners many walls are slightly crooked.
Starting straight prevents the whole wallpaper from drifting.
3. Apply Paste Evenly
Don’t overuse glue.
Spread evenly from edge to edge.
Too much paste causes bubbles and wrinkles.
4. Install From Top to Bottom
Start at the ceiling and slowly press downward.
Use a smoother or card to push air bubbles outward.
Move gently so the paper doesn’t stretch.
5. Match the Patterns Carefully
Align designs before pressing fully.
Take your time here this is what gives the professional look.
6. Trim Clean Edges
Use a sharp razor blade cut excess wallpaper along ceilings and corners carefully.
Change blades often for cleaner cuts.
7. Wipe Excess Glue Immediately
Use a damp cloth.
Don’t allow glue to dry on the wallpaper surface.
Cheap Pro Tips
Use bright lighting while working so bubbles show early.
Start with a small wall if you’re new.Buy peel and stick wallpaper for easier DIY installation.
Common Mistakes to Avoid
Hanging on dirty walls
Using blunt blades
Rushing pattern alignment
Applying too much glue
Ignoring bubbles until later